A USB boot disk is a cool idea. It allows you to carry your favorite operating system in your pocket. Since all modern PC provide USB boot from BIOS , you can use any computer and work on your on desktop. It is also possible to make data persistent. With ubuntu 9.04 Jaunty Jackalope it is very easy to make an install disk. Here is how you can do it.
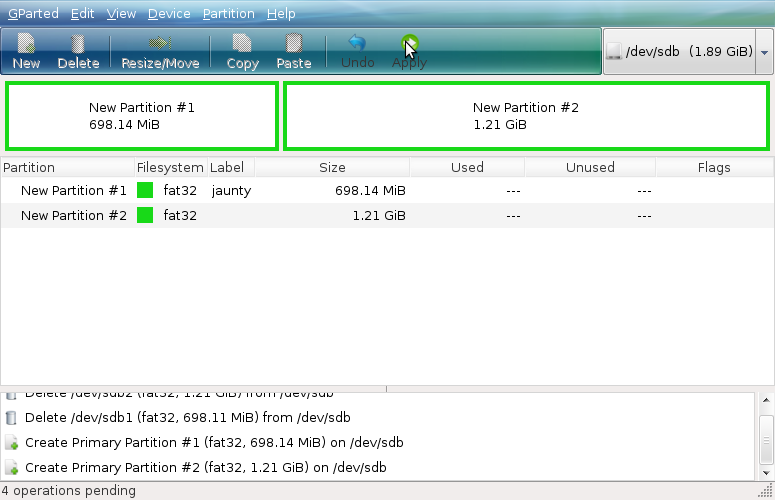
Get hold of a USB disk which is large enough to hold ubuntu and your data. I used a 2 GB Jetflash disk. First, I partitioned it into two using gparted. Both were formatted to fat32 file system. See the figure below. ( You can also choose to install on a single partition).
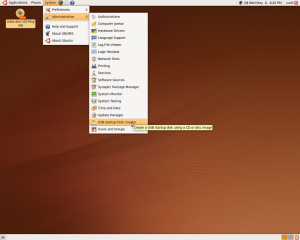
Next click on System-> Admininstration -Create USB statrup disk. See the Screenshot below.

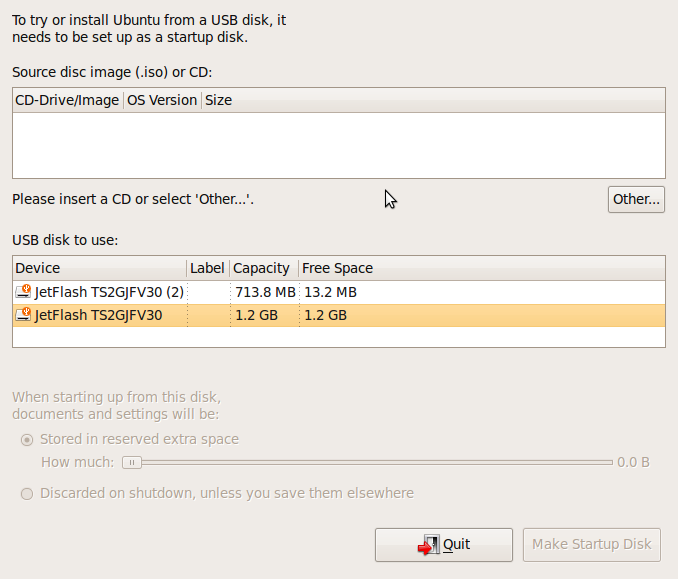
This will start the aplication unetbootin as shown below.

Click on other button and select the jaunty desktop iso image and then select the USB partition you want to install Ubuntu.
If you want to keep data persistent across reboots you can check that option and select the size for data block. Unetbootin will create a single file named casper-rw on the flash drive and your home directory will be mounted in that file. It is a good idea to keep data persistent as you can walk into any Internet cafe and work with your data.
Click on Make startup disk and wait for some time, your USB boot/install disk is ready.

Thanks for this good and simple howto. I have not seen an article about setting up ubuntu to boot from a usb partition using unetbootin. Will help beginners to try free software without installing in hard disk.
I have also written a small howto about usb booting.
http://hackingwithdebian.blogspot.com/2009/01/triple-booting-from-pen-drive.html
Happy Hacking.